How to Use System Restore in Windows Safely
System Restore is one of the most useful built-in recovery tools in Windows. It allows you to revert your system to a previous working state without reinstalling Windows or losing personal files. When used correctly, System Restore can fix a wide range of problems such as driver conflicts, software errors, failed updates, and system instability. However, many users hesitate to use it because they are unsure how it works or fear data loss.
In this guide, you will learn what System Restore is, how it works, when to use it, and how to use System Restore in Windows safely. We will also cover common mistakes, troubleshooting tips, and best practices to ensure a smooth and risk-free restoration process.
What Is System Restore in Windows?
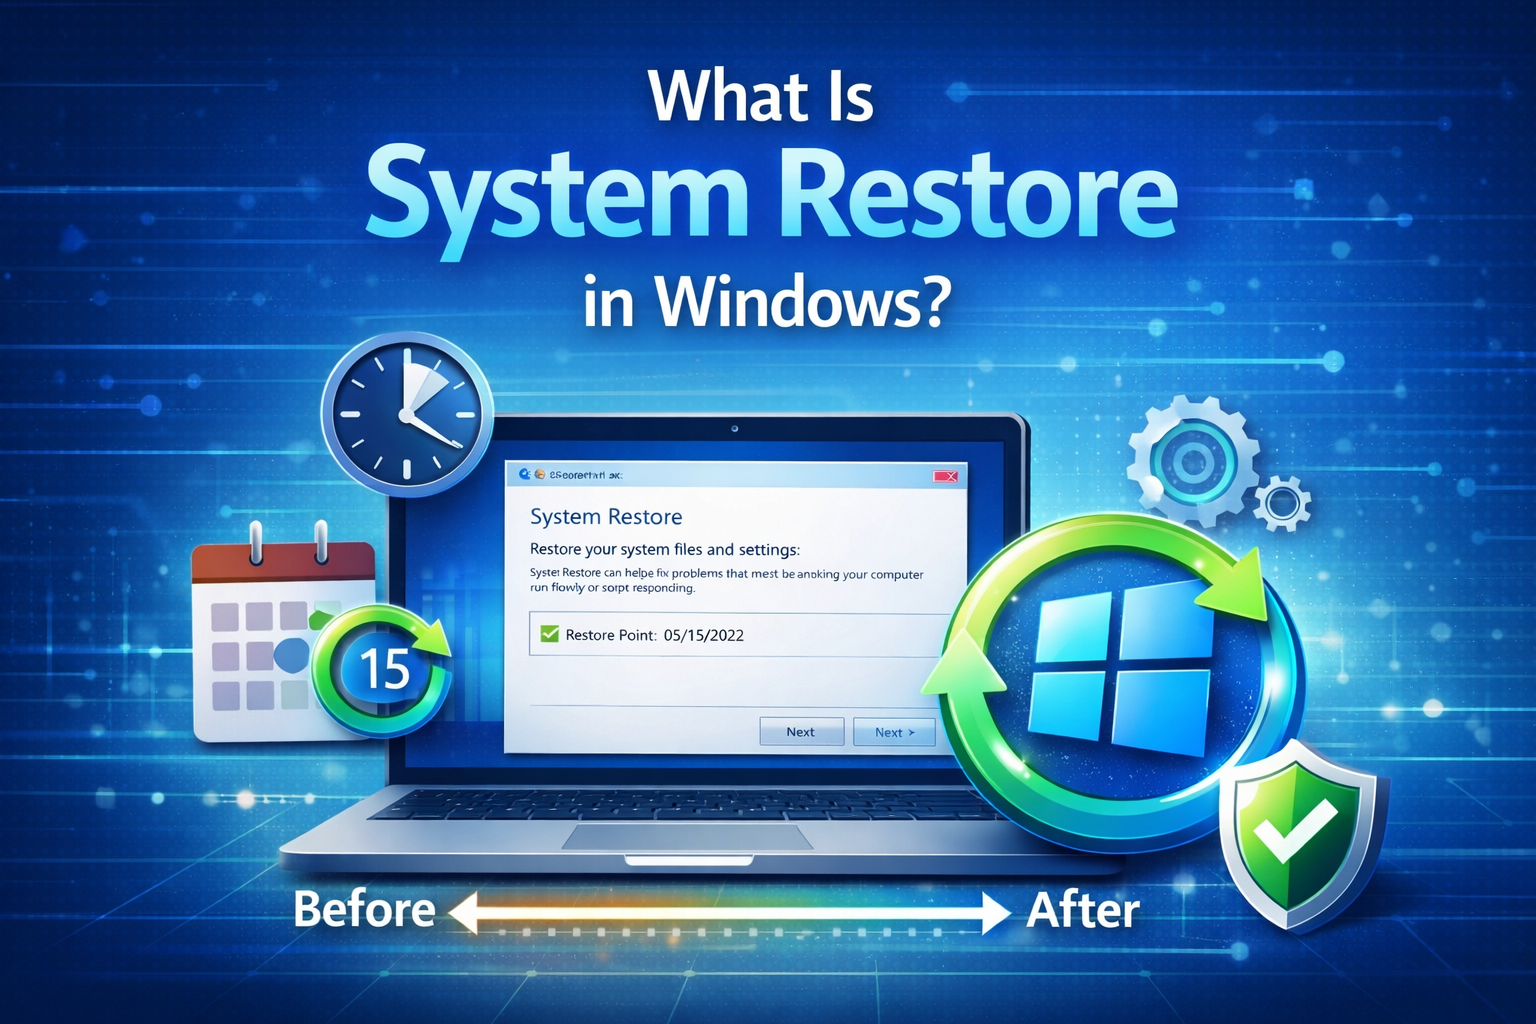
System Restore is a recovery feature available in most modern versions of Windows, including Windows 10 and Windows 11. It creates restore points, which are snapshots of critical system files, installed programs, drivers, and Windows Registry settings at a specific moment in time.
When something goes wrong, you can use a restore point to roll back your system to a previous state without affecting your personal files such as documents, photos, or videos.
What System Restore Affects
- System files
- Windows Registry
- Installed programs and drivers
- System settings
What System Restore Does NOT Affect
- Personal files (documents, pictures, music, videos)
- Emails and browser bookmarks
- Files stored in other drives (in most cases)
This makes System Restore a safe and convenient option for fixing software-related issues.
When Should You Use System Restore?
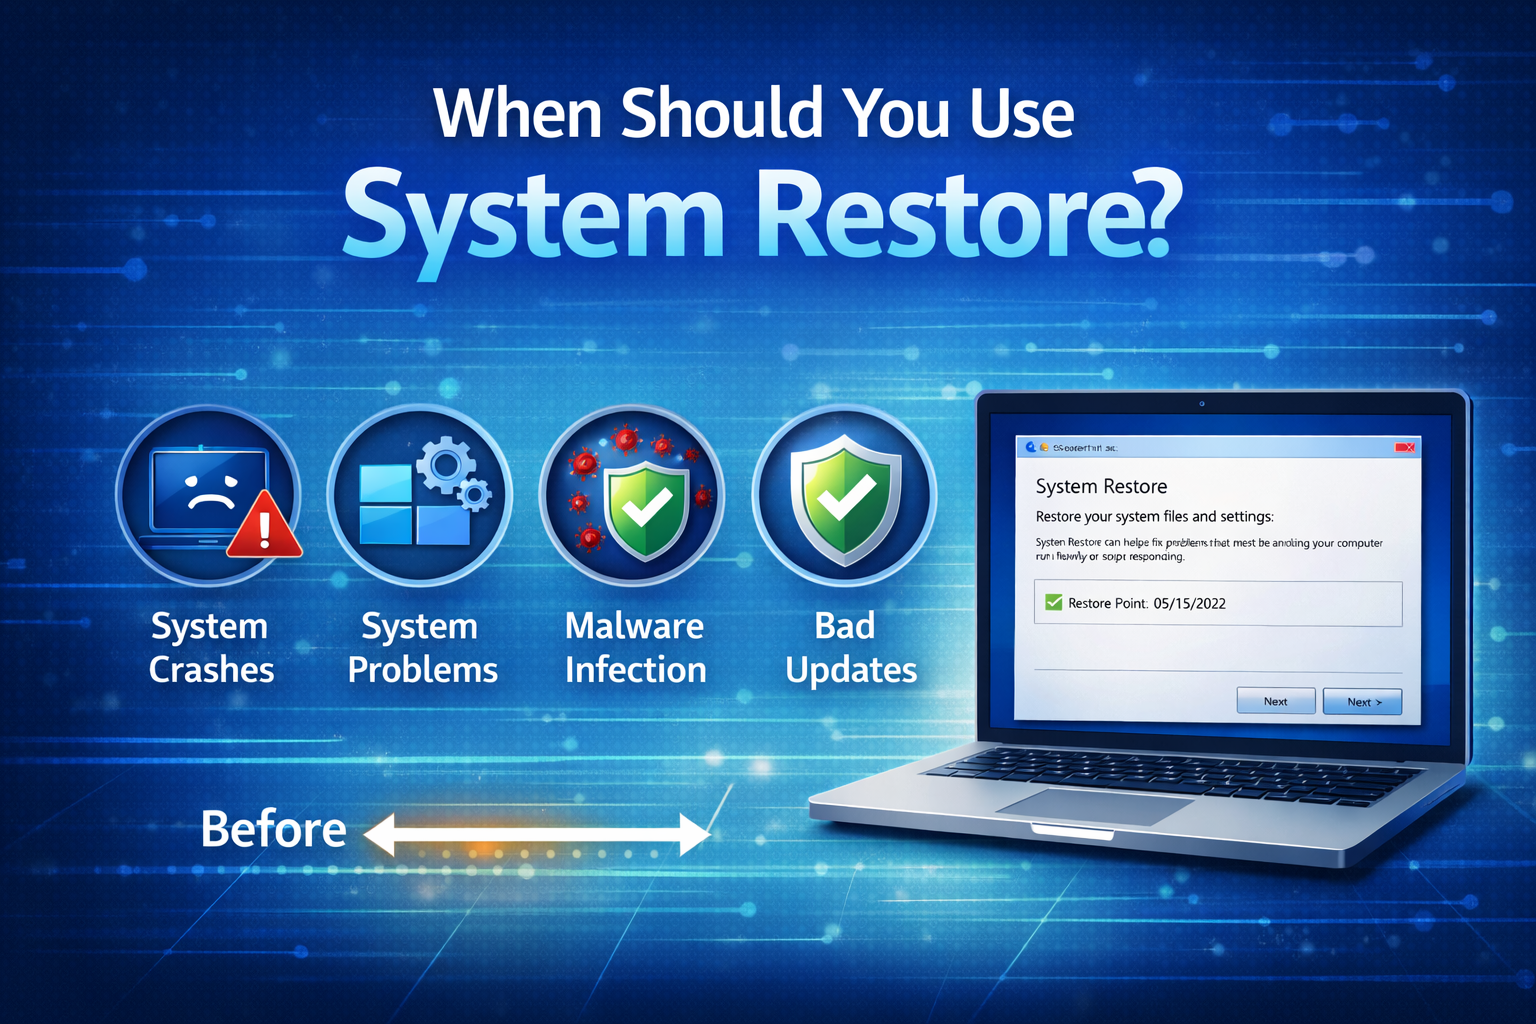
System Restore is ideal in situations where Windows starts behaving abnormally but still boots (or partially boots). Common scenarios include:
- Windows becomes slow or unstable after installing new software
- A driver update causes crashes or blue screen errors
- Windows updates fail or create system errors
- Applications stop working correctly after system changes
- Registry changes cause unexpected problems
However, System Restore is not a solution for hardware failures, malware infections, or accidental file deletion.
When You Should NOT Use System Restore
Although System Restore is powerful, it is not always the right tool. Avoid using it in these cases:
- To recover deleted personal files
- To fix severe malware or ransomware infections
- When Windows fails to boot due to hardware damage
- As a replacement for a full system backup
Understanding its limitations helps you use it safely and effectively.
Preparing to Use System Restore Safely
Before performing a System Restore, it’s important to take a few precautionary steps.
1. Back Up Important Data
Even though System Restore does not delete personal files, it is always wise to back up important documents to:
- An external hard drive
- Cloud storage (OneDrive, Google Drive, etc.)
- A USB flash drive
This ensures complete peace of mind.
2. Check Available Restore Points
Make sure your system actually has restore points created before the problem occurred.
3. Close Running Programs
System Restore requires a system restart. Save your work and close all applications to avoid data loss.
How to Enable System Restore in Windows
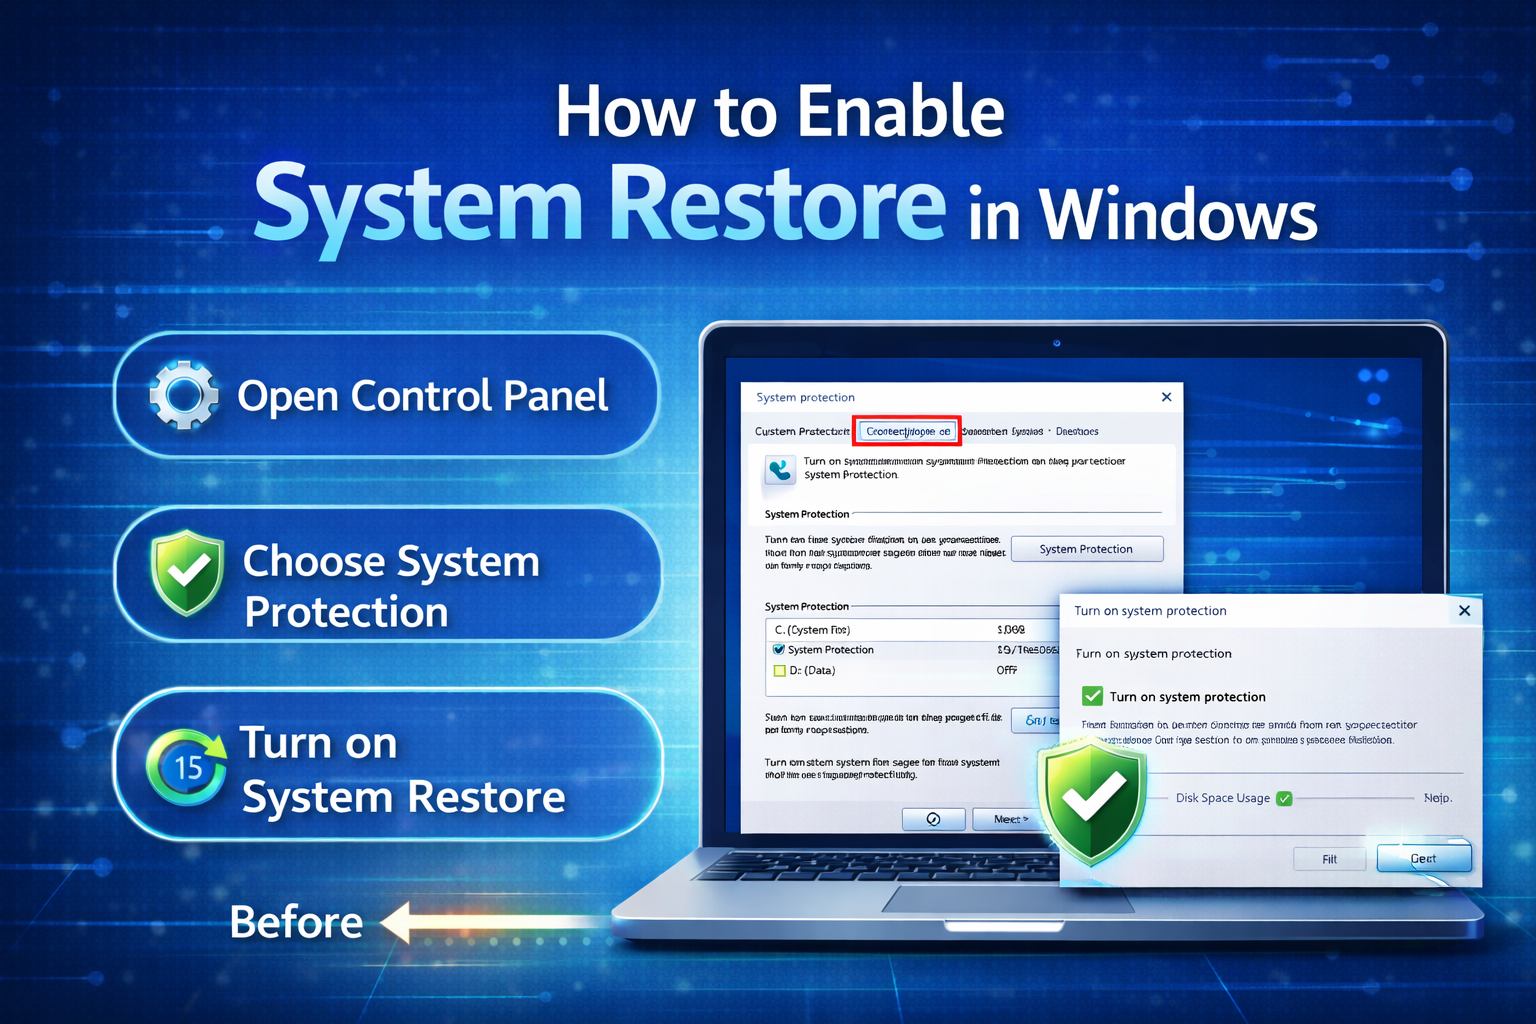
In some cases, System Restore may be disabled by default. Follow these steps to enable it:
- Press Windows + S and search for Create a restore point
- Open the System Properties window
- Under the System Protection tab, select your system drive (usually C:)
- Click Configure
- Select Turn on system protection
- Allocate disk space (5–10% is usually sufficient)
- Click Apply and OK
Once enabled, Windows will automatically create restore points during updates and major system changes.
How to Create a Restore Point Manually
Creating a manual restore point before making changes is a smart habit.
Steps to Create a Restore Point:
- Open Create a restore point
- Select your system drive
- Click Create
- Enter a descriptive name (e.g., “Before Driver Update”)
- Click Create and wait for confirmation
This gives you a safe fallback option if something goes wrong.
How to Use System Restore in Windows Safely
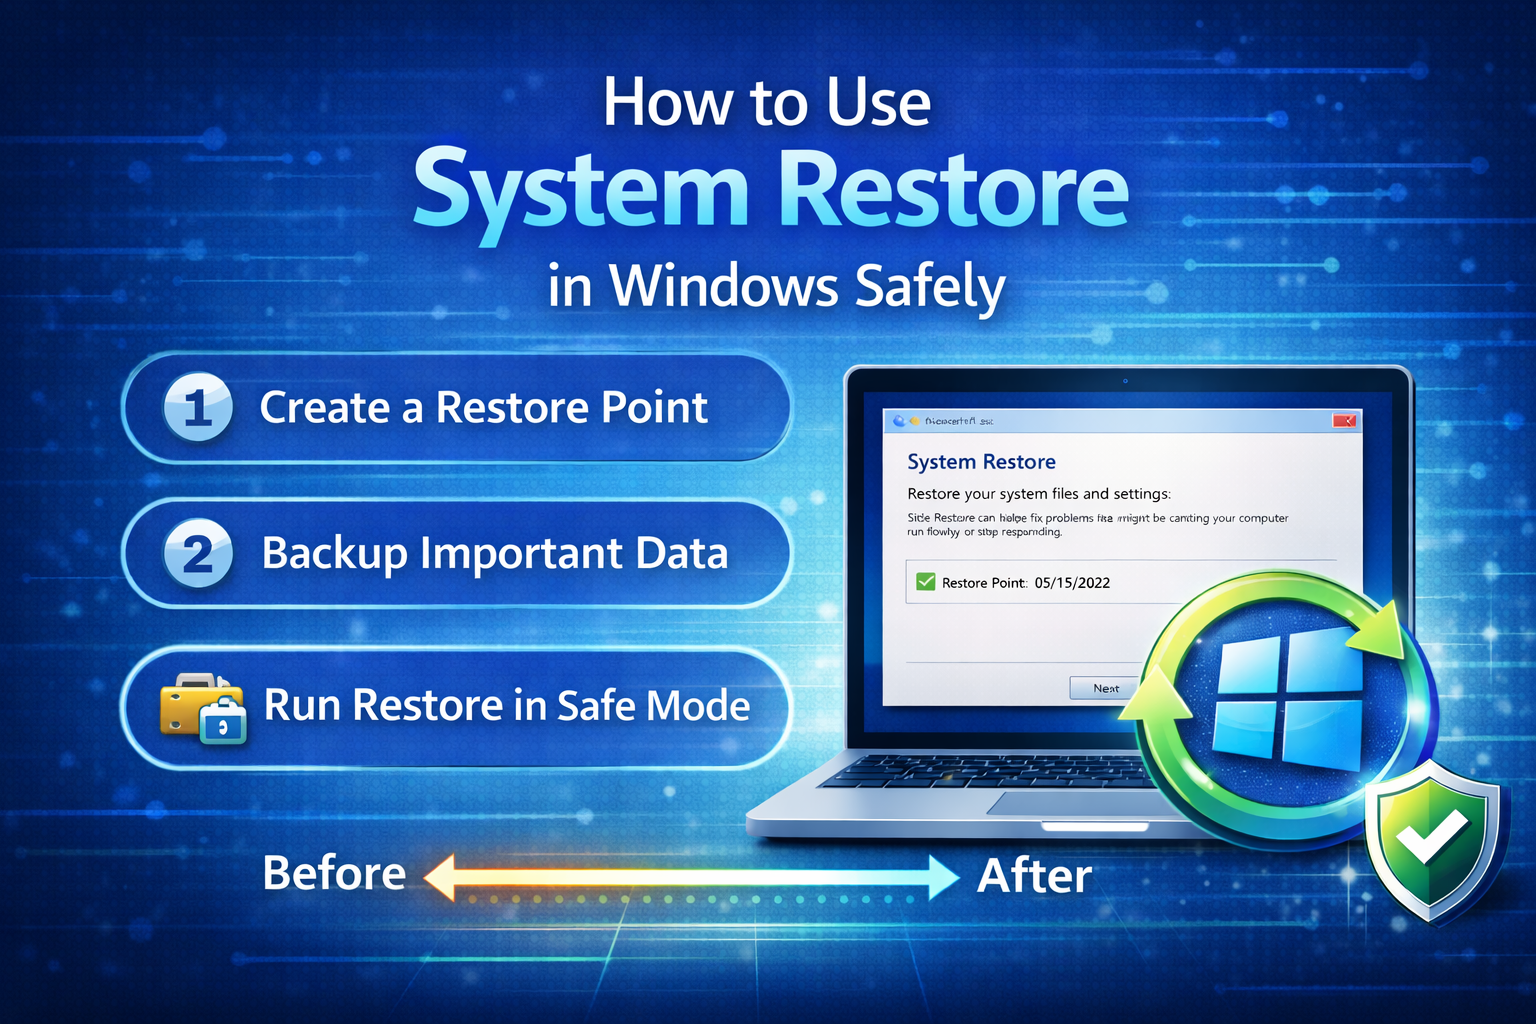
Now let’s walk through the correct and safe way to use System Restore.
Method 1: Using System Restore from Windows (Normal Mode)
- Press Windows + S and type System Restore
- Select Create a restore point
- Click System Restore
- Click Next
- Choose a restore point created before the issue began
- Click Scan for affected programs (optional but recommended)
- Click Next → Finish
Your computer will restart and begin the restoration process.
Method 2: Using System Restore from Advanced Startup (If Windows Won’t Boot)
If Windows cannot boot normally:
- Restart your PC and interrupt the boot process 2–3 times
- Enter Advanced Startup
- Go to Troubleshoot → Advanced options → System Restore
- Select your user account
- Choose a restore point
- Confirm and proceed
This method is extremely useful when Windows crashes before reaching the desktop.
What Happens During System Restore?
During the restoration process:
- Windows reverts system files and settings
- Installed programs after the restore point are removed
- Drivers revert to earlier versions
- The system restarts automatically
The process usually takes 10–30 minutes, depending on system speed and restore size.
Common Mistakes to Avoid
To use System Restore safely, avoid these common mistakes:
- Selecting a restore point created after the problem started
- Interrupting the restore process by force-shutting down
- Using System Restore as a malware removal tool
- Forgetting to back up important data
Being patient and careful ensures a successful restore.
Troubleshooting System Restore Issues
System Restore Fails or Gets Stuck

Try these solutions:
- Run System Restore in Safe Mode
- Disable third-party antivirus temporarily
- Use SFC /scannow to repair system files
- Free up disk space
No Restore Points Available
Possible causes:
- System Protection was disabled
- Disk space was insufficient
- Restore points were deleted automatically
Enable System Protection and create restore points manually going forward.
System Restore vs Reset This PC
Many users confuse System Restore with Windows Reset. Here’s a quick comparison:
| Feature | System Restore | Reset This PC |
|---|---|---|
| Keeps personal files | Yes | Optional |
| Removes apps | Yes (recent ones) | Yes |
| Reinstalls Windows | No | Yes |
| Risk level | Low | Medium |
System Restore is safer and faster for minor issues.
Best Practices for Using System Restore
- Always create restore points before major changes
- Keep System Protection enabled
- Allocate enough disk space
- Use descriptive restore point names
- Combine System Restore with regular backups
Following these best practices makes System Restore a reliable safety net.
Conclusion
System Restore is a powerful yet often overlooked Windows recovery tool. When used correctly, it can save you hours of troubleshooting and prevent unnecessary Windows reinstallation. By understanding how it works, when to use it, and how to prepare properly, you can confidently use System Restore in Windows safely without fear of losing important data.
Whether you are dealing with driver issues, failed updates, or unexpected system errors, System Restore provides a quick and effective solution. Make it a habit to enable System Protection, create restore points regularly, and always back up important files. With these steps, System Restore becomes one of your best tools for maintaining a stable and healthy Windows system.