How to Back Up Windows Without Third-Party Software
Backing up your Windows system is one of the most important tasks you can perform to protect your data, settings, and operating system. Most people assume they need to install third-party software to back up their computer, but Windows already includes powerful built-in tools that can help you back up efficiently and securely — without paying for or downloading anything extra.
In this article, we will explore why backups are important, what built-in tools Windows offers, and how to use these tools step by step to ensure your data is safe. Whether you’re a beginner or an experienced user, this guide will help you back up your Windows PC the right way.
Why Backing Up Your Windows PC Matters
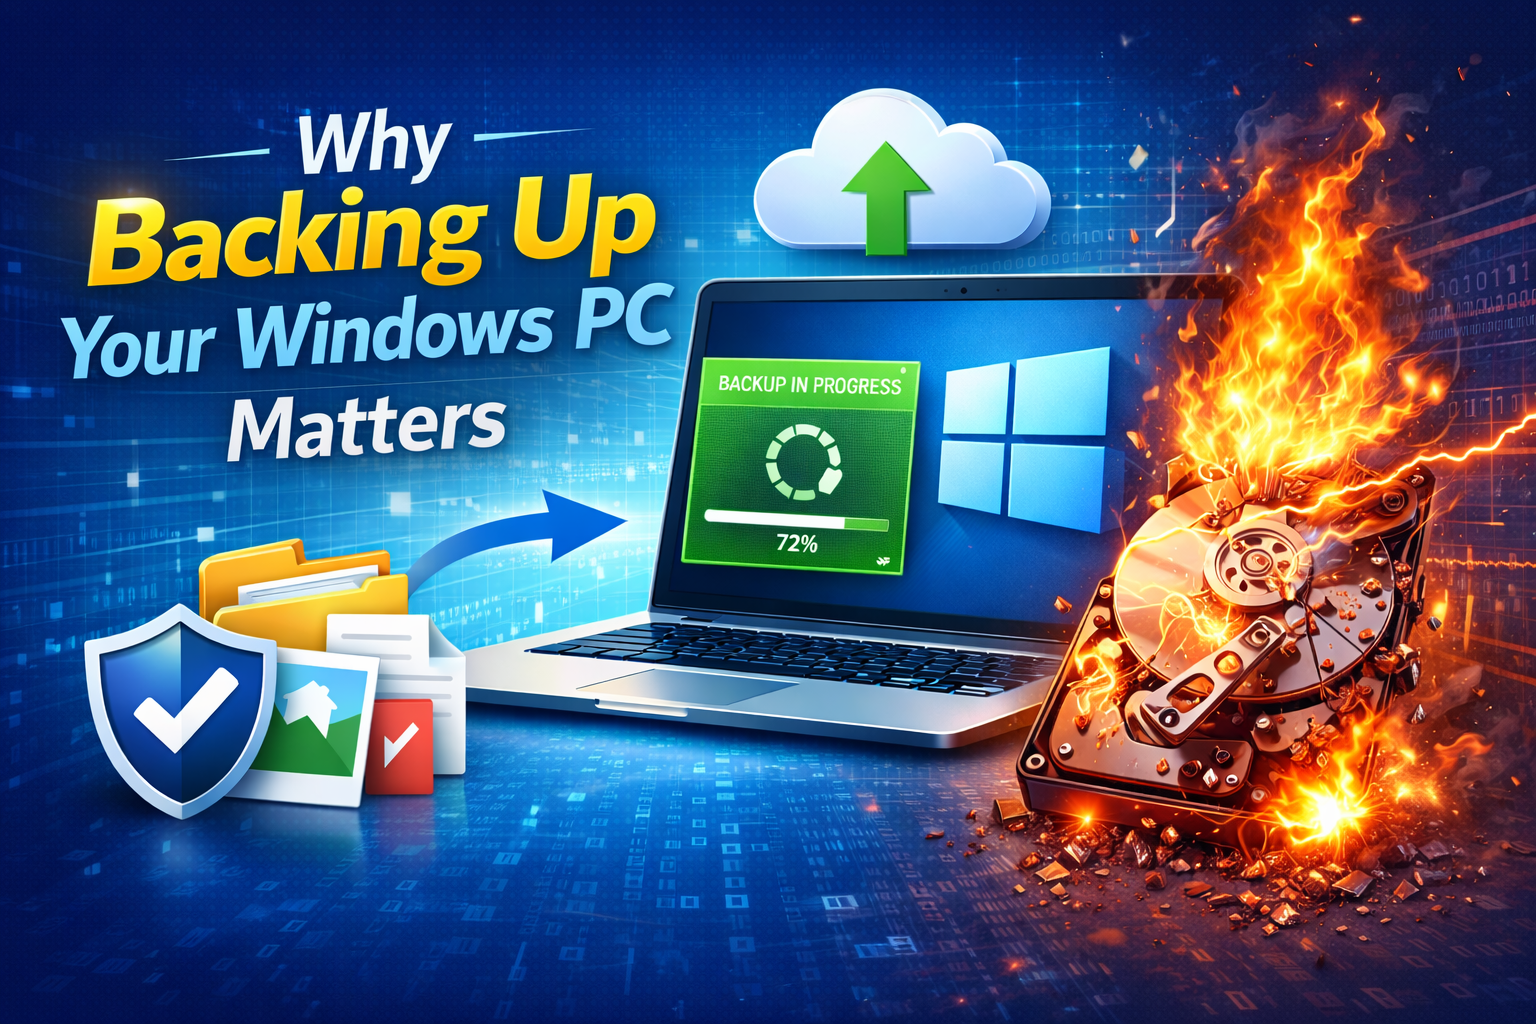
Computers are reliable — until they aren’t. Hardware failures, accidental file deletions, malware attacks, Windows update problems, theft, and natural disasters can all cause lost data in a flash. Without a backup, critical documents, photos, videos, and system settings can be gone forever.
Here are the main reasons why backups are essential:
- Protect Personal Files
Backups ensure that important files like photos, school projects, financial records, and creative work are not lost. - Recover From System Failures
If Windows becomes corrupted or fails to boot, a backup can restore your system to a working state. - Peace of Mind
Knowing your data is safely backed up reduces stress and allows you to focus on your work, projects, and personal life. - Easy Transfer to New Computers
Backups make it simpler to move all your files and settings to a new PC.
Windows Built-In Backup Tools
Microsoft includes several backup and recovery tools in Windows. The two most commonly used are:
- File History — Best for backing up your personal files, such as documents, pictures, music, and videos.
- Backup and Restore (Windows 7) — This older backup system is still available and can create a system image, a complete snapshot of your Windows installation.
In addition to these, Windows also offers:
- OneDrive Sync — For cloud backup of files and folders.
- System Restore Points — For restoring system files and settings (but not ideal for full data backup).
In this guide, we will focus on the most useful methods: File History and Backup and Restore (Windows 7).
Understanding Backup Types
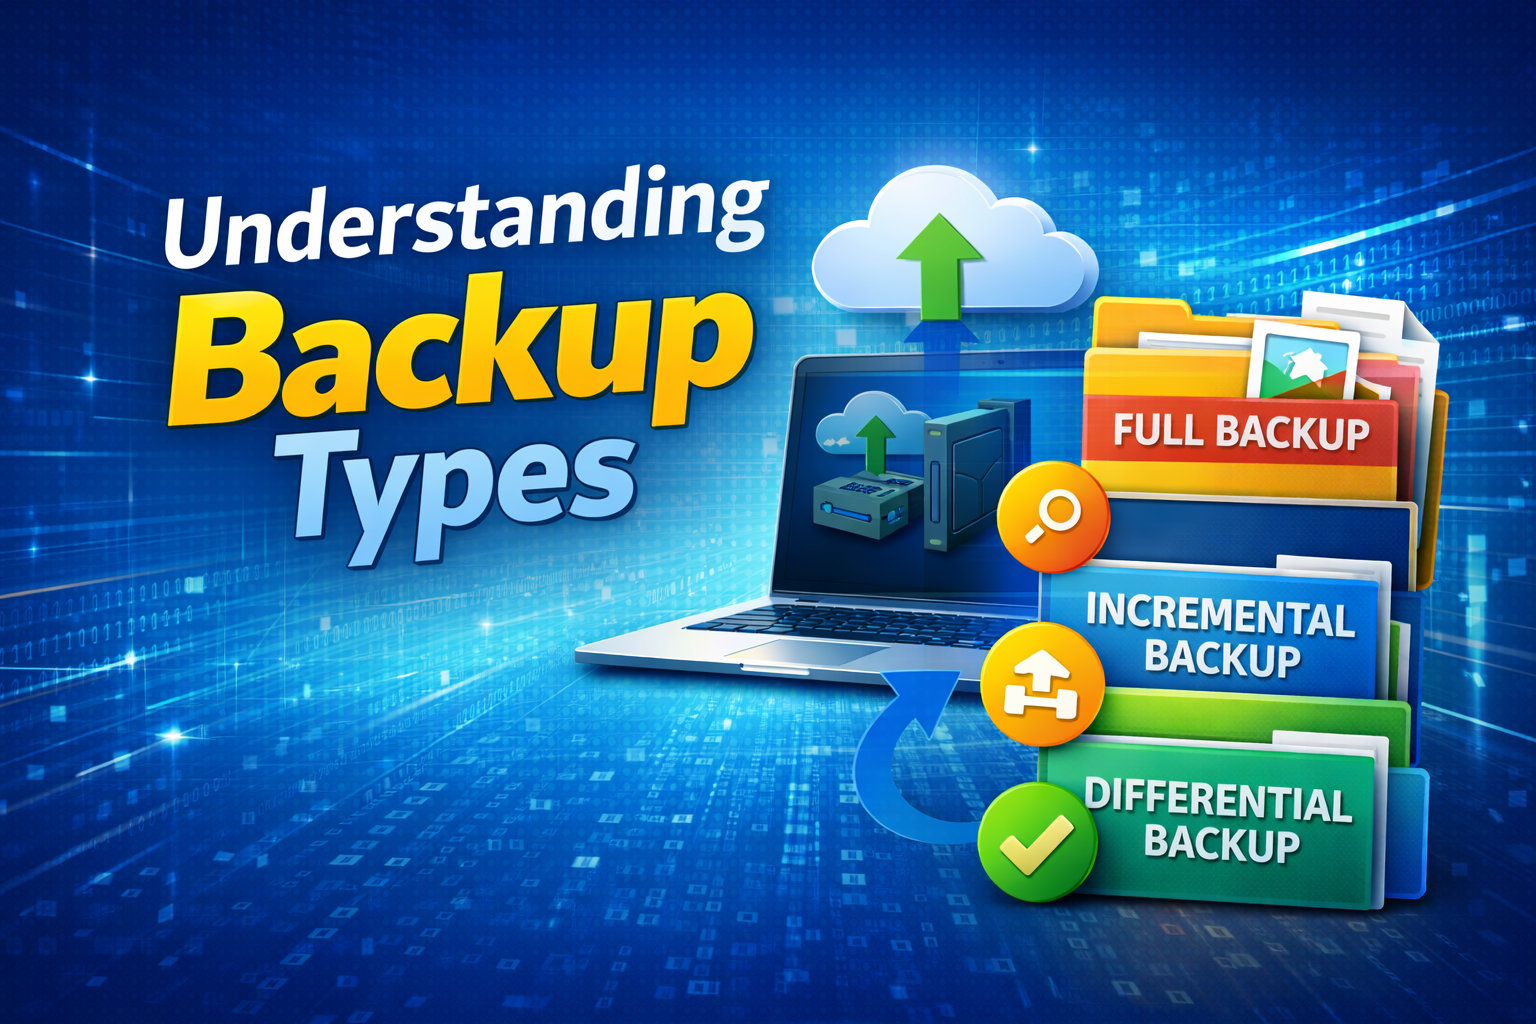
Before diving into steps, it’s important to understand the two common types of backups:
File Backup
This saves your personal files (like documents and photos). It’s usually smaller and faster.
System Image Backup
This creates a complete copy of your Windows installation, including system files, programs, and settings. It’s larger but very useful for recovering your whole system.
What You’ll Need
To back up your Windows PC without third-party software, you need:
- A Windows PC (Windows 8, 10, or 11)
- An external storage device (USB drive, external hard drive, SSD, network drive, etc.)
- Some time (depending on the size of your backup)
Method 1: Using File History
File History is the easiest way to back up your personal files regularly. Once set up, it can back up files automatically.
Step-by-Step: Set Up File History
- Connect Your External Drive
Plug in a USB flash drive or external hard drive to your PC. - Open File History Settings
- Click Start
- Go to Settings
- Click Update & Security
- Select Backup
- Add a Drive
Under “Back up using File History,” click Add a drive and choose your external drive. - Turn On File History
Toggle the switch to On. Windows will now automatically back up your files. - Choose Advanced Settings (Optional)
Click More options to set:- How often backups occur (every hour, daily, etc.)
- How long backups are kept
- What folders are backed up
What File History Backs Up
By default, File History backs up folders in your user profile, including:
- Desktop
- Documents
- Pictures
- Music
- Videos
You can also add folders you want backed up manually.
Restoring Files With File History
If you accidentally delete or change a file, you can restore it:
- Go to Settings → Update & Security → Backup
- Click More options
- Click Restore files from a current backup
- Browse and select the files you want to restore
- Click Restore
Method 2: Using Backup and Restore (Windows 7)
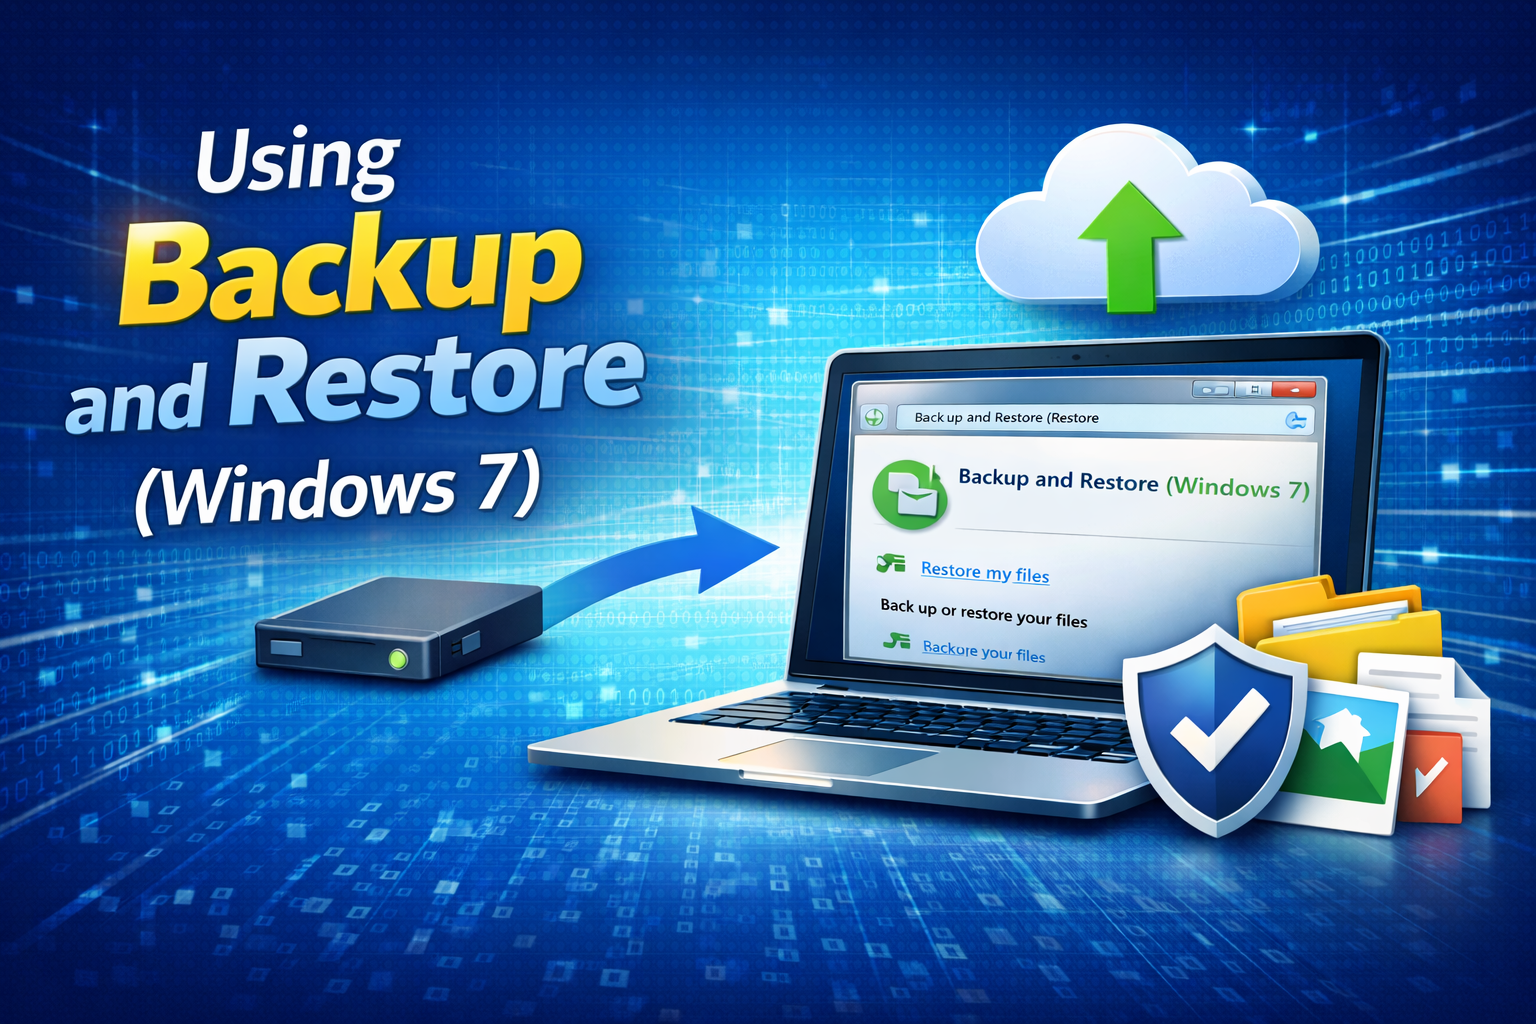
Windows still includes the older “Backup and Restore” feature, originally from Windows 7. This is useful for creating a system image.
What Is a System Image?
A system image is a full copy of your entire Windows installation — including:
- Windows system files
- Installed programs
- Settings
- Personal files (optional)
If your system fails, you can restore everything to exactly the way it was when the image was created.
Steps to Create a System Image
- Connect Your External Drive
Plug in a large enough drive (system images are big, often hundreds of gigabytes). - Open Backup and Restore (Windows 7)
- Go to Control Panel
- Select Backup and Restore (Windows 7)
- Create a System Image
On the left panel, click Create a system image. - Choose Backup Location
Select your external drive (recommended) or network location. - Select Drives to Include
Choose the drives you want to include (usually your system drive). - Start Backup
Click Start backup and wait. This may take a while depending on storage size.
Restore From a System Image
To restore your system image, you need:
- The system image backup
- Windows recovery environment (from a USB installer or built-in Windows recovery)
- Boot into the Windows Recovery Environment
- Choose Troubleshoot
- Go to Advanced Options
- Select System Image Recovery
- Choose the backup you created
- Follow prompts to restore Windows
Note: Restoring a system image replaces everything on your PC — only use if you need full recovery.
Method 3: Using OneDrive (Cloud Backup)
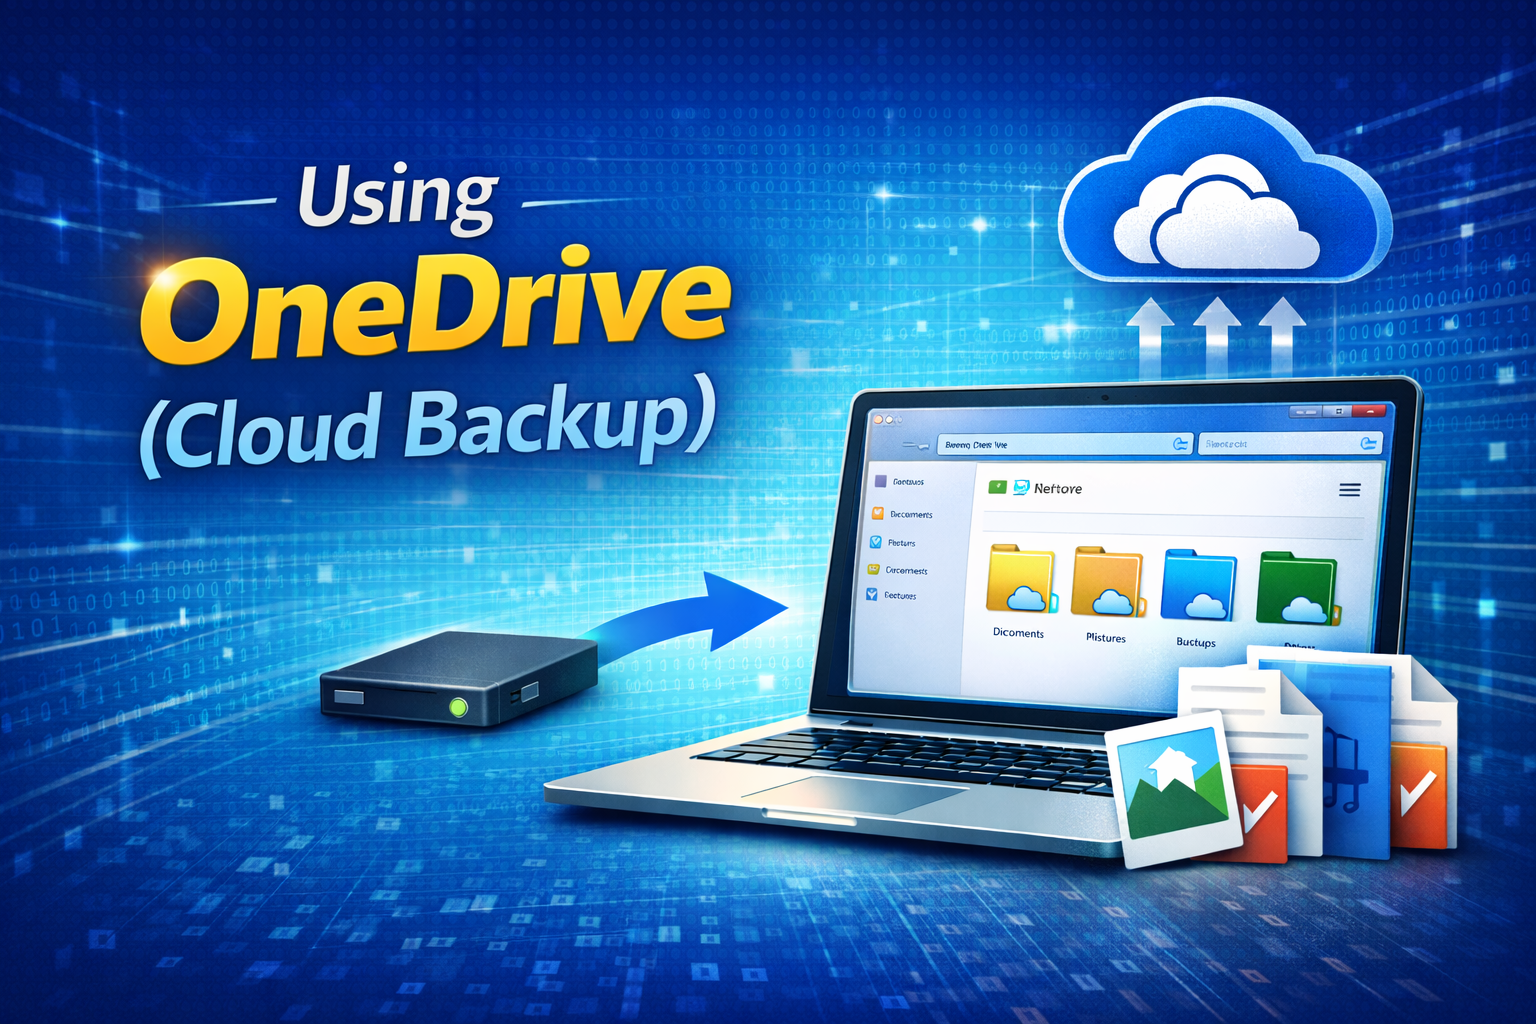
Windows integrates with OneDrive, Microsoft’s cloud storage service. You don’t need third-party software, and OneDrive can sync your files to the cloud.
How to Use OneDrive
- Sign in with your Microsoft account
- Select folders to sync (Documents, Pictures, Desktop)
- OneDrive automatically uploads changes
This backup is handy because your files are stored online and accessible from anywhere.
Limitations
- OneDrive may require a subscription for larger storage
- Not a full system backup (only files)
Tips for Effective Backups
To make sure your backups are useful and reliable, follow these best practices:
✔️ Backup Regularly
Set File History to back up frequently (e.g., every hour).
✔️ Use Multiple Backups
Have at least two backup copies: one local and one off-site (like cloud).
✔️ Check Your Backups
Every once in a while, try restoring a file to make sure the backup works.
✔️ Keep Your Drive Safe
Store backup drives in a safe place to avoid damage or theft.
✔️ Label Your Backups
If you keep multiple backups, label them with dates so you know what’s inside.
Common Questions About Windows Backups
Do I Really Need Backups?
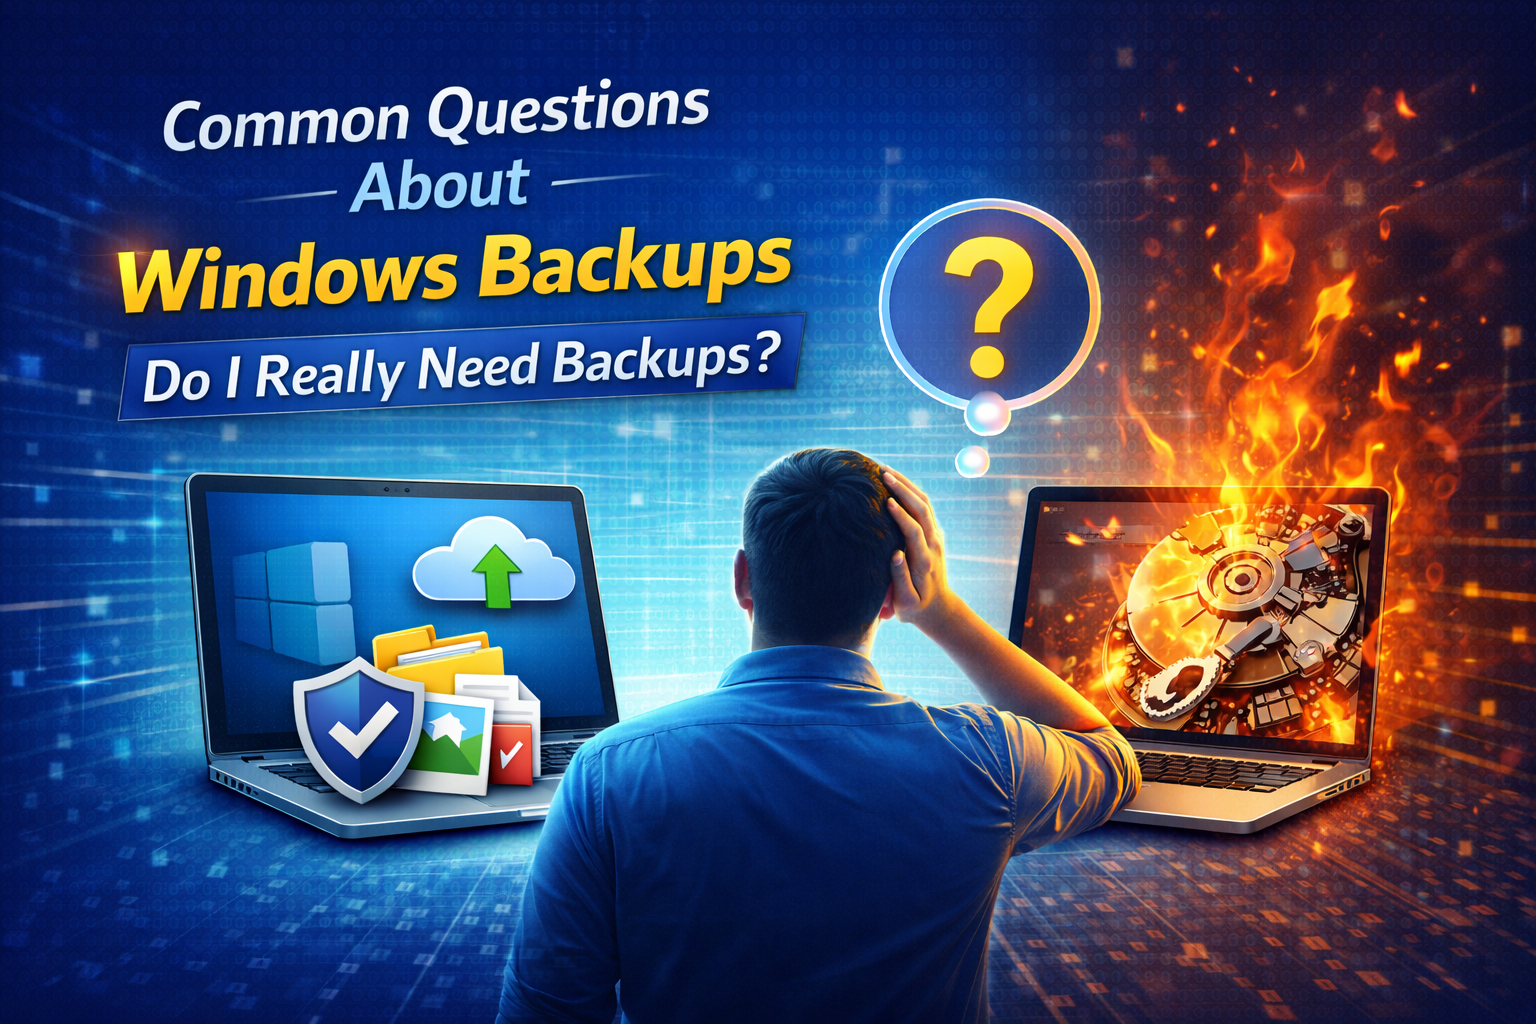
Yes. Even reliable computers can fail. Backups prevent data loss and save time and stress.
What’s Better: File History or System Image?
- File History is great for everyday backups of personal files.
- System Image is best if you want to restore your entire Windows system after a crash.
Can I Back Up to a USB Flash Drive?
Yes, but a large external hard drive is often better, especially for system images.
Does Windows Back Up Automatically?
Windows can automatically back up with File History once it’s set up. But you still must connect your backup drive.
Final Thoughts
Backing up Windows doesn’t have to be complicated or expensive. With built-in tools like File History, Backup and Restore (Windows 7), and OneDrive, you can protect your data and system without installing any third-party software.
Whether you want to safeguard family photos, school work, or your entire Windows installation, these tools provide robust solutions. The key is to start backing up today — not tomorrow.
Remember: Backups save time, money, and stress.