How to Free Up Storage on iPhone: A Complete Step-by-Step Guide
Running out of storage on your iPhone is one of the most common problems iPhone users face. You may see alerts like “iPhone Storage Full” or notice that your device becomes slower, apps fail to update, or photos won’t save anymore. Fortunately, freeing up storage on an iPhone is easier than you might think — and you don’t need to delete everything important to do it.
In this complete guide, you’ll learn how to free up storage on iPhone safely and effectively, using built-in tools, smart settings, and practical habits. Whether you’re using an older iPhone or the latest model, these tips will help you reclaim space and keep your device running smoothly.
Why iPhone Storage Fills Up So Quickly
Before fixing the problem, it’s important to understand what consumes iPhone storage:
- Photos and videos (especially 4K videos)
- Apps and app cache
- Messages with photos, videos, and attachments
- System data and temporary files
- Downloads, offline content, and unused apps
Apple devices manage storage automatically, but over time, unnecessary files can pile up.
Step 1: Check What’s Using Your iPhone Storage
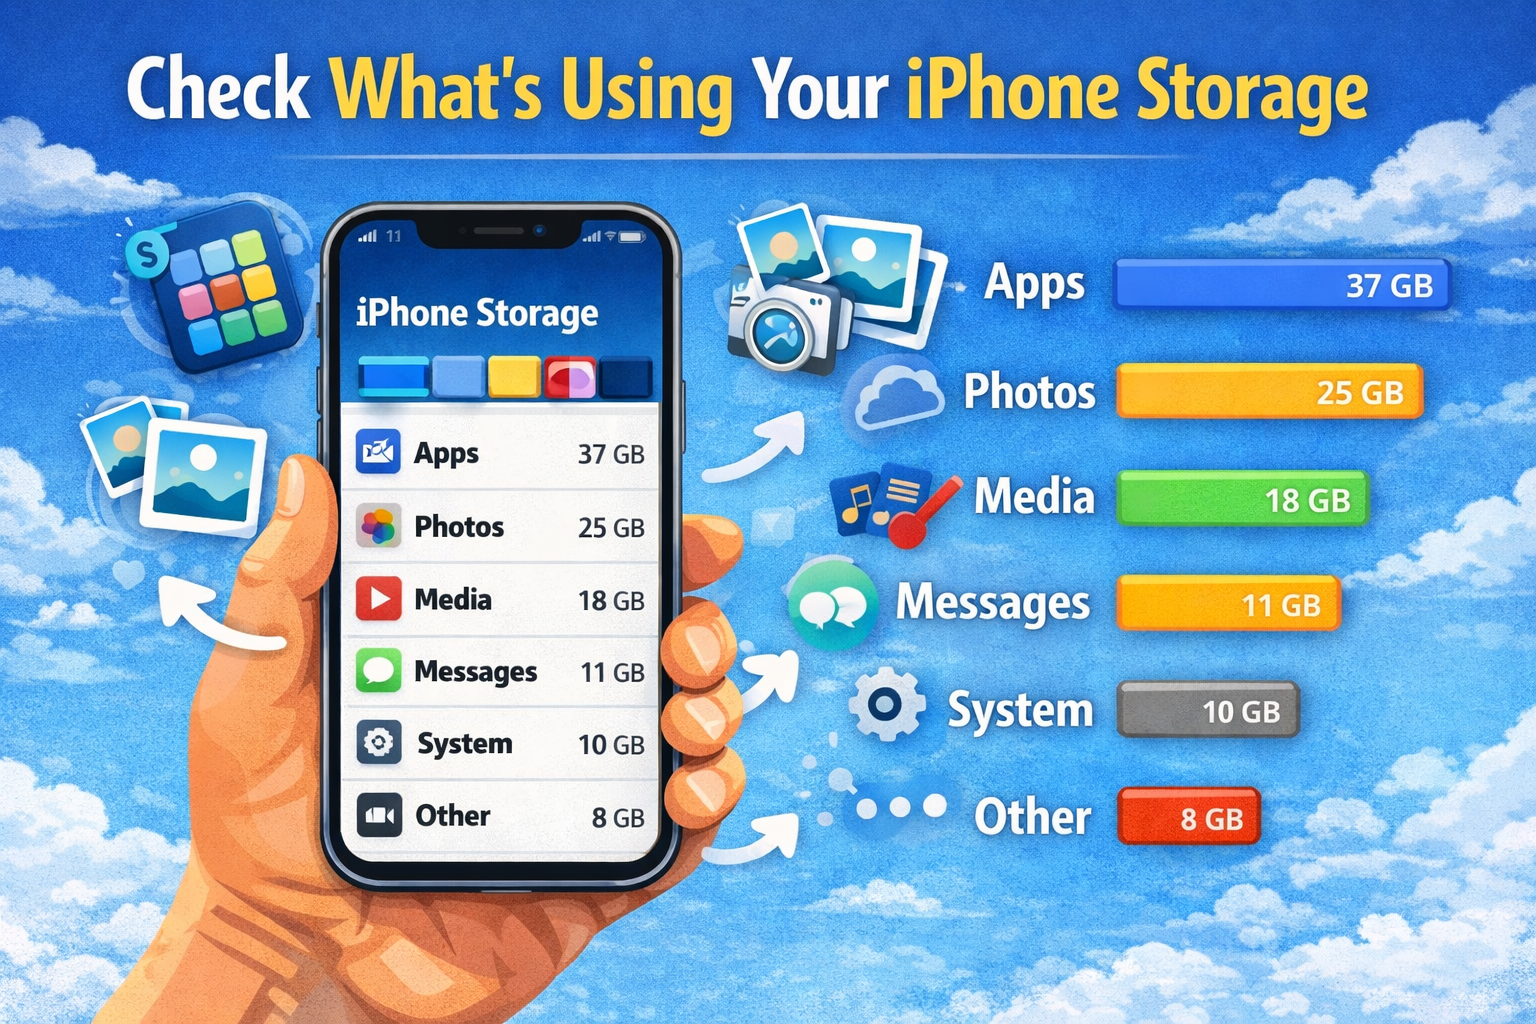
The first step to freeing up space is knowing where it’s being used.
How to Check Storage Usage:
- Open Settings
- Tap General
- Select iPhone Storage
Here, you’ll see:
- Total storage
- Used storage
- A detailed breakdown by app
Apple also provides personalized recommendations, such as deleting large attachments or unused apps.
Tip: Pay attention to apps that use the most storage — they are your biggest opportunities to free space.
Step 2: Delete Unused Apps
Apps can consume a lot of space, especially games and social media apps.
Manually Delete Apps:
- Go to Settings > General > iPhone Storage
- Tap an app you no longer use
- Select Delete App
Offload Unused Apps (Recommended)
Offloading removes the app but keeps its data.
- Go to Settings
- Tap App Store
- Enable Offload Unused Apps
This is an excellent way to free storage automatically without losing important data.
Step 3: Clean Up Photos and Videos
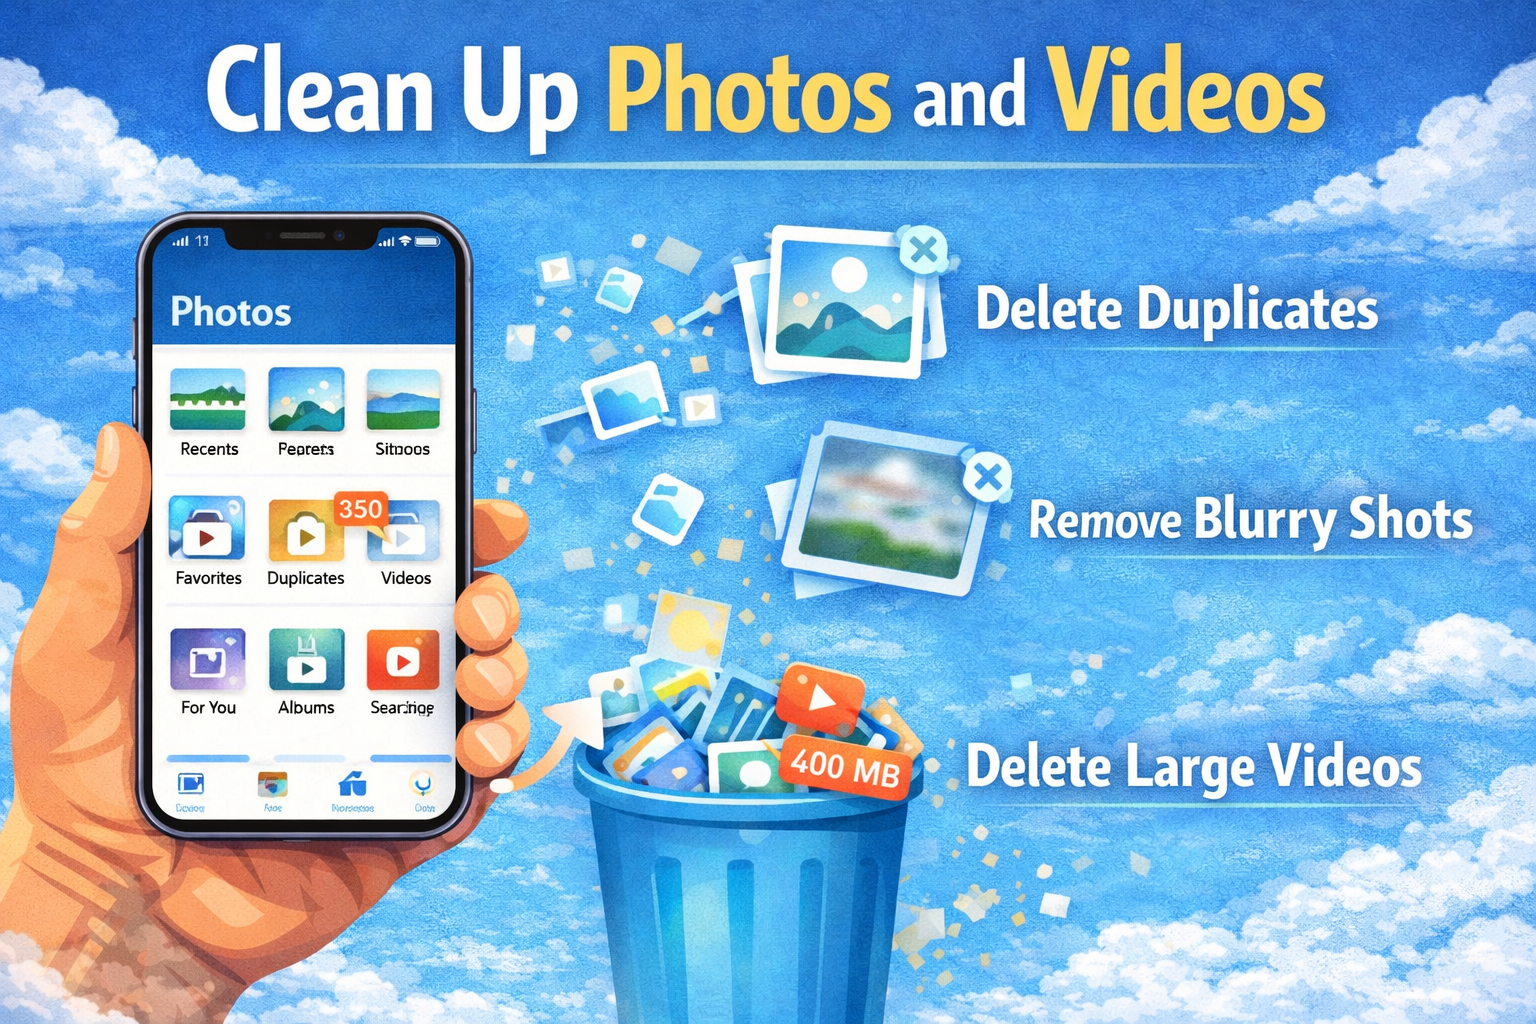
Photos and videos usually take up the most storage on an iPhone.
Delete Unnecessary Photos and Videos
- Open the Photos app
- Review Videos, Screenshots, and Live Photos
- Delete duplicates, blurry photos, or old videos
Use “Recently Deleted”
After deleting photos:
- Go to Albums
- Open Recently Deleted
- Tap Delete All
Photos stay there for 30 days unless removed manually.
Step 4: Enable iCloud Photos Optimization
If you use iCloud, this feature can save a huge amount of storage.
How to Enable Optimize Storage:
- Open Settings
- Tap [Your Name] > iCloud
- Select Photos
- Turn on Optimize iPhone Storage
This keeps smaller versions on your device and stores full-resolution photos in iCloud.
Step 5: Clear Safari Cache and Website Data
![]()
Browsing the web stores cache files that can grow large over time.
Clear Safari Cache:
- Open Settings
- Scroll to Safari
- Tap Clear History and Website Data
This frees space and may improve Safari performance.
Step 6: Delete Old Messages and Attachments
Messages — especially iMessage — can take up a lot of storage due to photos, videos, and voice notes.
Review Message Attachments:
- Go to Settings > General > iPhone Storage
- Tap Messages
- Review Photos, Videos, and GIFs
- Delete large or unnecessary files
Automatically Delete Old Messages:
- Open Settings
- Tap Messages
- Select Keep Messages
- Choose 30 Days or 1 Year
Step 7: Remove Downloaded Music, Podcasts, and Videos

Offline content uses storage silently.
Music App:
- Open Music
- Go to Downloaded Music
- Remove albums you no longer listen to
Podcasts:
- Open Settings > General > iPhone Storage
- Tap Podcasts
- Delete downloaded episodes
Streaming Apps:
Apps like Netflix, YouTube, and Spotify store offline content. Check and delete unused downloads inside each app.
Step 8: Clear App Cache (Indirect Methods)
iOS doesn’t allow clearing cache for all apps, but there are workarounds.
Reinstall Large Apps
For apps like Facebook, Instagram, or TikTok:
- Delete the app
- Restart your iPhone
- Reinstall the app from the App Store
This often removes cached data and frees significant space.
Step 9: Manage Files in the Files App
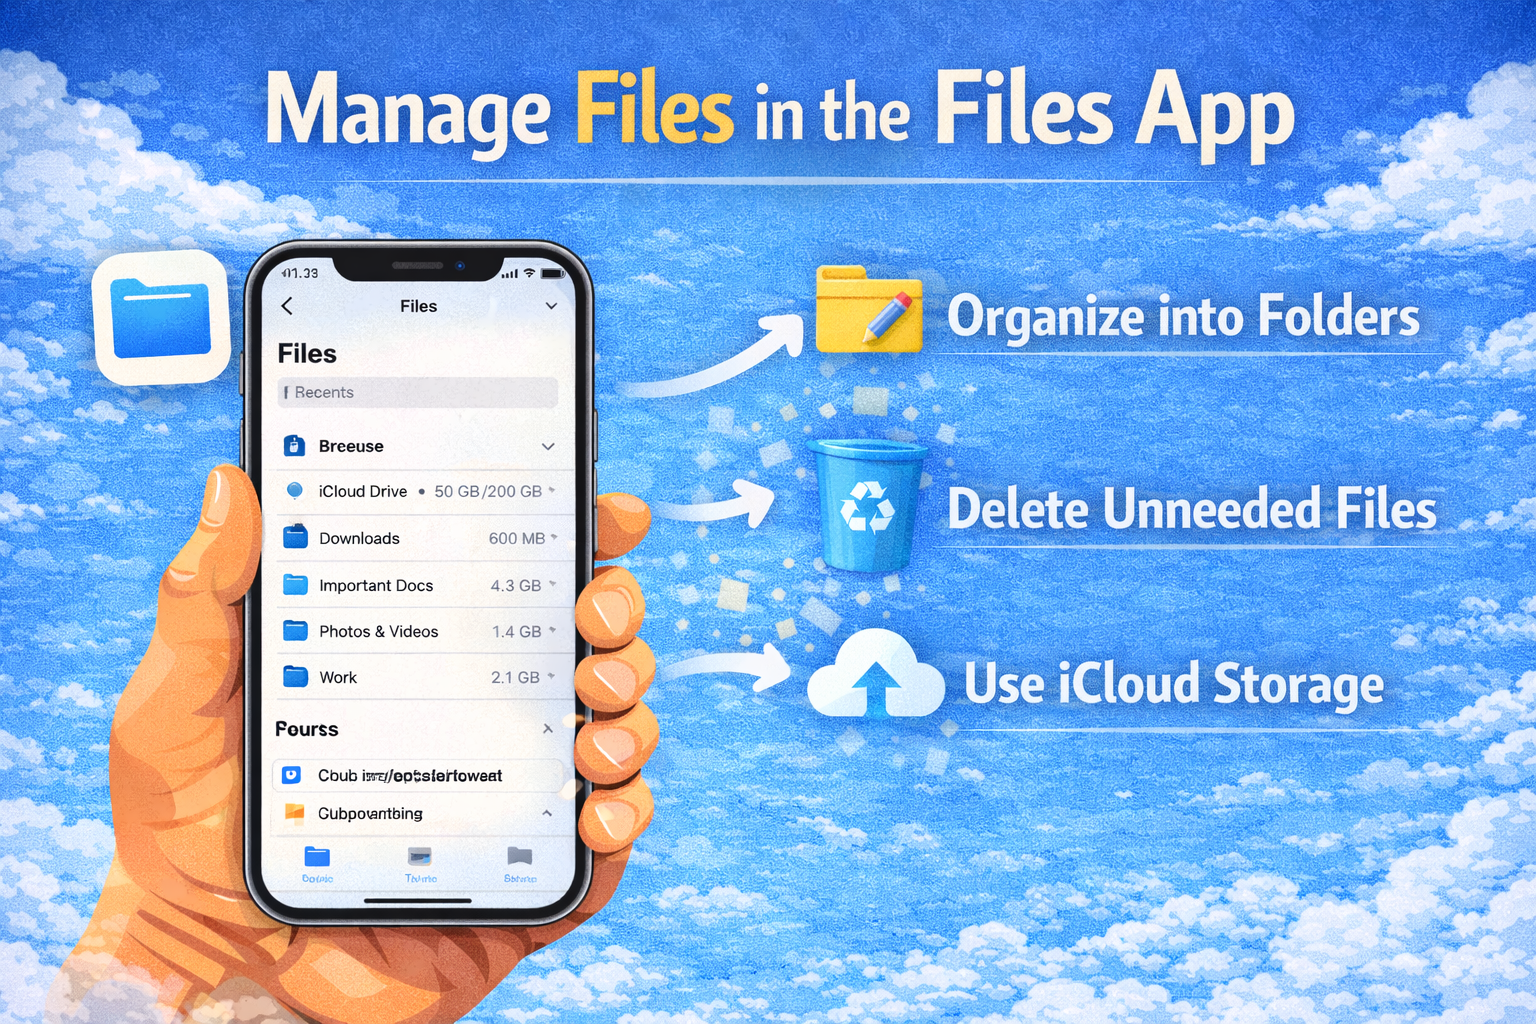
Documents, PDFs, ZIP files, and downloads accumulate over time.
How to Clean Files:
- Open the Files app
- Check On My iPhone
- Delete old or unused files
Also review folders created by apps like WhatsApp, Telegram, or document scanners.
Step 10: Reduce System Data Storage
“System Data” can grow large and is not always clearable directly, but these steps help:
- Restart your iPhone
- Update to the latest iOS version
- Clear Safari cache
- Remove old backups
- Delete unused apps
Over time, iOS will optimize system data automatically.
Step 11: Update iOS to Improve Storage Management
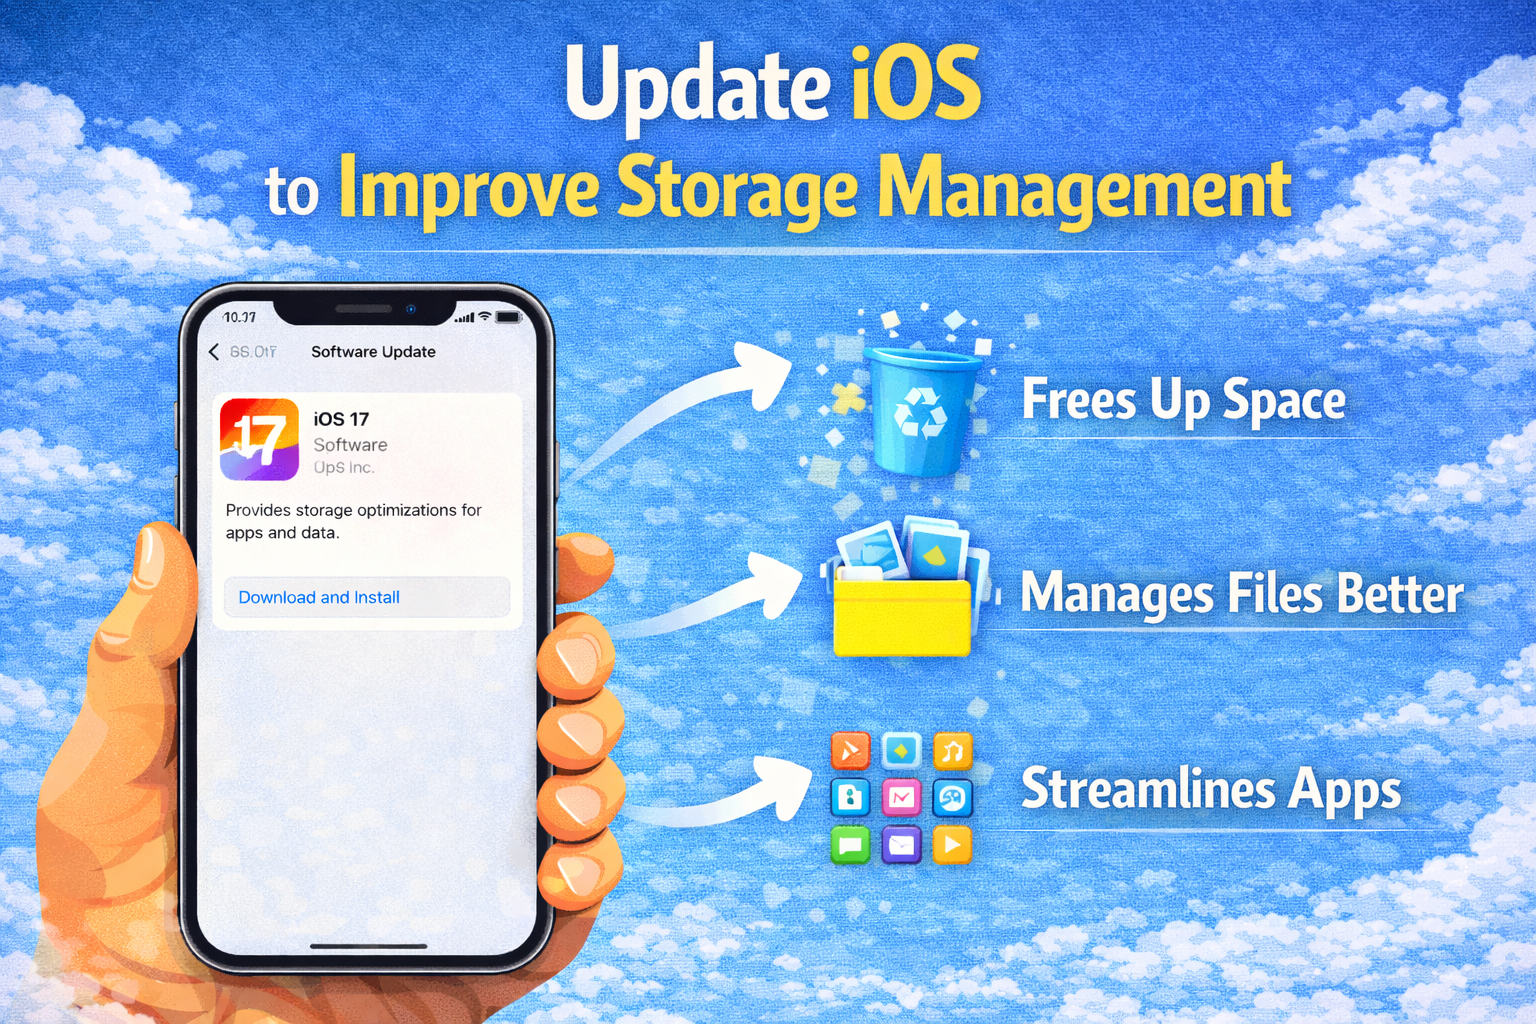
New iOS versions often include better storage optimization.
How to Update iOS:
- Open Settings
- Tap General
- Select Software Update
Make sure you have enough storage or update using a computer if needed.
Step 12: Use iCloud or External Storage
If your storage needs keep growing, consider:
- Upgrading iCloud storage
- Using cloud services like Google Drive or Dropbox
- Transferring photos and videos to a computer or external drive
This is especially useful for content creators or users who record many videos.
Best Habits to Keep iPhone Storage Free
- Delete screenshots regularly
- Avoid saving unnecessary videos
- Enable automatic app offloading
- Review storage usage monthly
- Backup photos to cloud services
Developing these habits will prevent storage issues in the future.
When You Should Consider More Storage
If you’ve tried everything and still run out of space, it may be time to:
- Upgrade iCloud storage
- Move to an iPhone with higher storage capacity
For heavy users, 128GB or more is often necessary.
Final Thoughts
Knowing how to free up storage on iPhone can save you time, frustration, and even money. By deleting unused apps, managing photos, clearing caches, and using iCloud wisely, you can reclaim gigabytes of space without losing important data.
Regular maintenance is the key. Take a few minutes each month to review your storage, and your iPhone will stay fast, responsive, and ready for anything.