How to Update iOS Safely Without Losing Data
Updating your iPhone or iPad to the latest version of iOS brings many benefits—new features, security improvements, and better performance. But many users worry that updating might delete their photos, messages, or important files. The good news is that you can update iOS safely without losing data, as long as you follow a few careful steps.
In this article, we’ll walk through everything you need to know to prepare for an update, back up your device, perform the update safely, and recover data if something goes wrong. Whether you’re a beginner or a seasoned Apple user, this guide will make the iOS update process simple and worry-free.
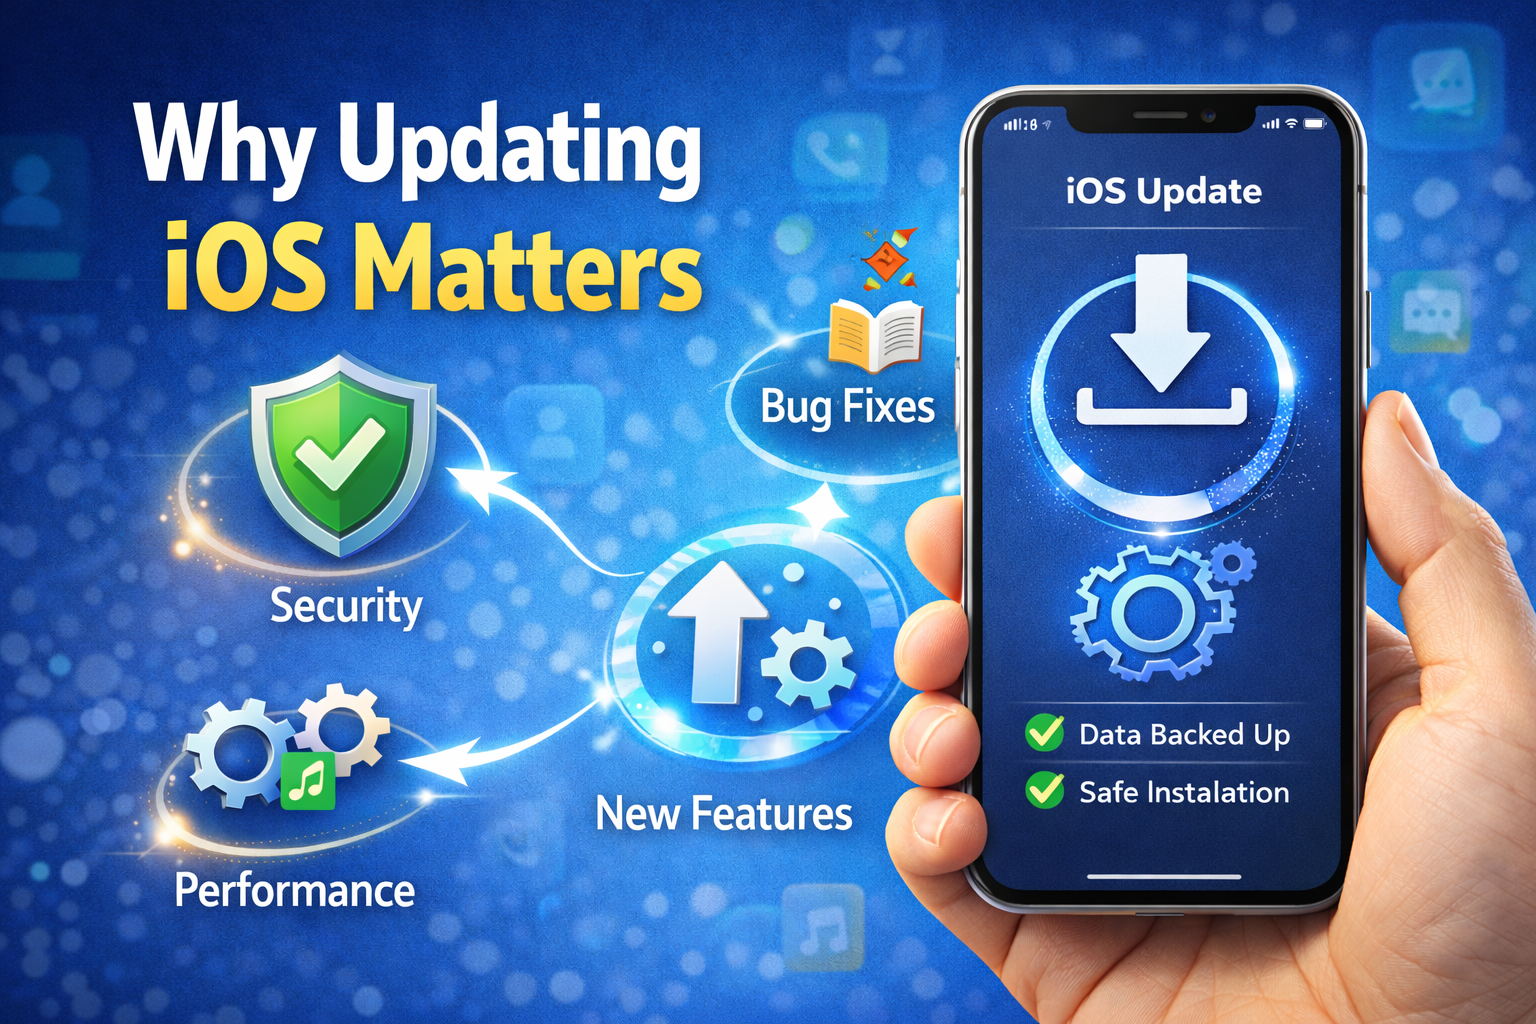
Why Updating iOS Matters
Before we dive into the “how,” let’s quickly understand the “why.”
1. Security Enhancements
Apple regularly patches vulnerabilities in iOS. Updating your device protects you from malware, hacking attempts, and security exploits that target older versions of the operating system.
2. New Features and Improvements
Each major iOS update includes new features—like redesigned apps, better multitasking, and improved privacy controls. Minor updates often fix bugs and enhance performance.
3. App Compatibility
App developers optimize their software for the latest iOS versions. Running outdated software may cause apps to crash or malfunction.
Risks of Updating Without Preparation
It’s rare, but problems can happen:
- Update process gets interrupted
- iPhone gets stuck in a boot loop
- Not enough storage space
- Backup fails
- Data corruption
That’s why you should never update iOS without backing up your data first. Now let’s go step-by-step to make sure nothing gets lost.
Step 1: Check Compatibility

Not every iPhone or iPad supports every iOS version.
How to Check Compatibility
- Go to Settings > General > About
- Find your device model
- Search online for “latest iOS compatible with your model”
- If your device is supported, proceed
If your device is not supported, you will not see the update in Settings, and you should not attempt to install it.
Step 2: Free Up Storage Space
iOS updates can require significant free space—sometimes several gigabytes.
Check Available Storage
- Go to Settings
- Tap General
- Tap iPhone Storage (or iPad Storage)
If free space is low:
- Delete old videos/photos you don’t need
- Remove large unused apps
- Offload content to cloud storage
Freeing space reduces update errors and speeds up the process.
Step 3: Back Up Your Device
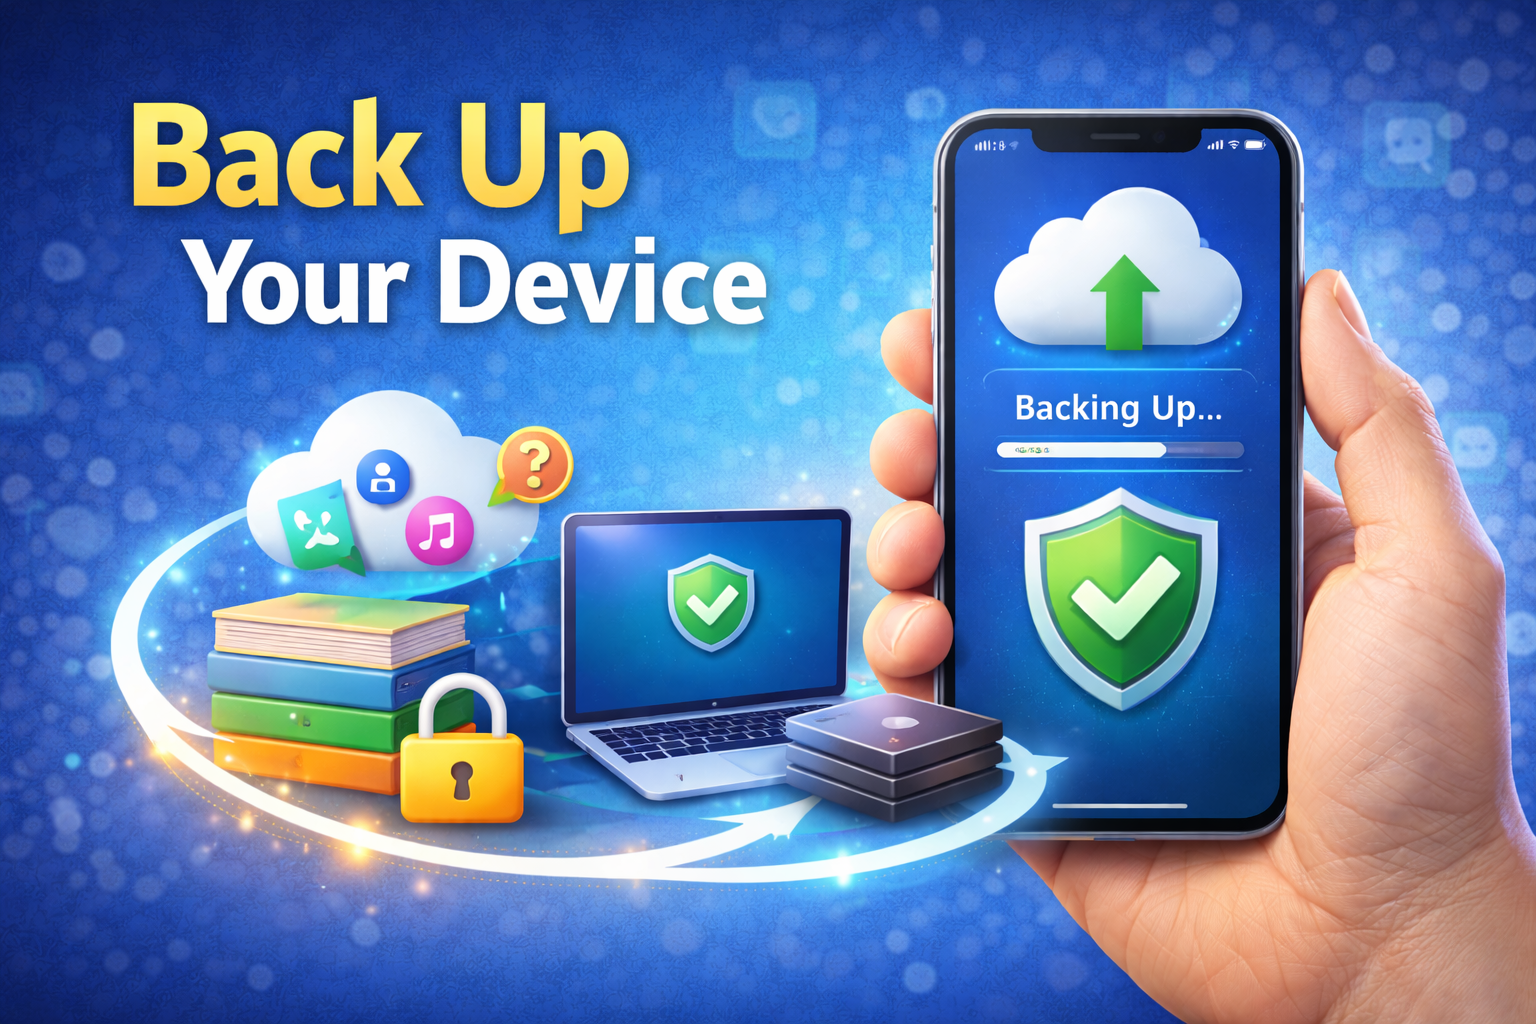
Backing up your iPhone ensures your data is safe even if something goes wrong.
You have two main options:
Option A: iCloud Backup (Wireless)
- Connect your device to Wi-Fi
- Go to Settings > [Your Name] > iCloud
- Tap iCloud Backup
- Make sure it’s On
- Tap Back Up Now
Pros:
- Easy and automatic
- Works anywhere with Wi-Fi
Cons:
- Limited space (free 5GB only)
- Requires a good Wi-Fi connection
Option B: Backup to Computer (iTunes / Finder)
On macOS (Catalina and later):
- Connect your device to Mac with cable
- Open Finder
- Select your device from the sidebar
- Under Backups, choose Back up all data to this Mac
- Click Back Up Now
On Windows or older macOS:
- Open iTunes
- Connect device
- Click the device icon
- In Summary, choose This computer
- Click Back Up Now
Pros:
- Larger space (limited only by your computer)
- Can encrypt backup (secure)
Cons:
- Requires cable and computer
Step 4: Verify Your Backup
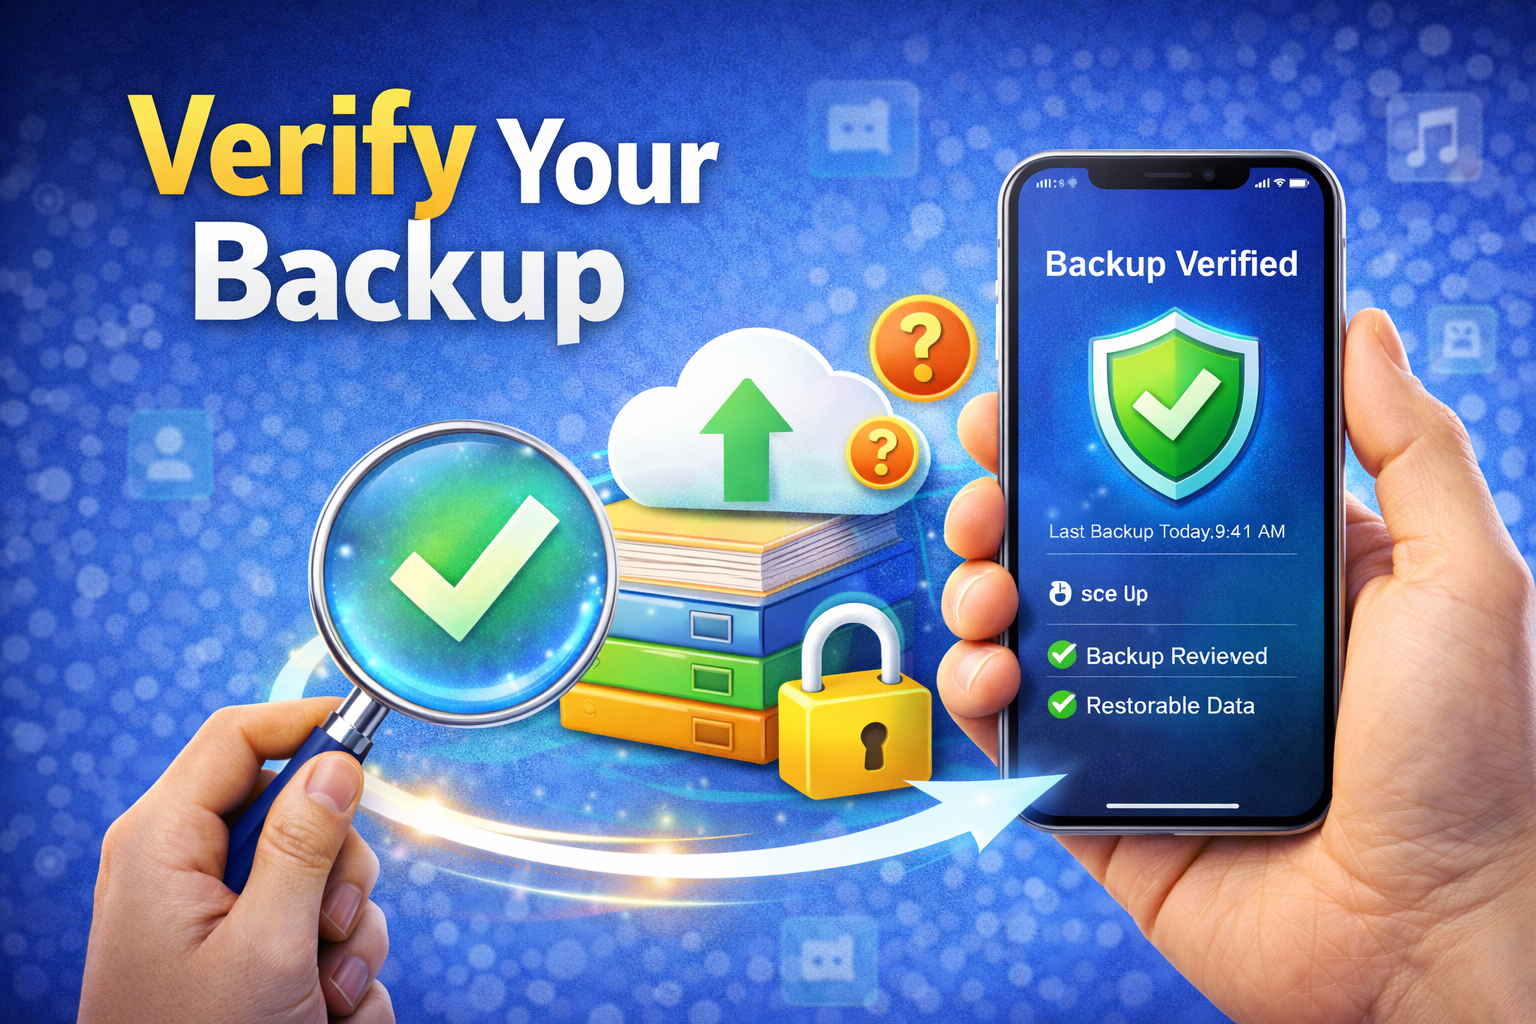
After the backup completes:
iCloud
- Go to Settings > [Your Name] > iCloud > iCloud Backup
- Check date/time of last backup
Computer
- In Finder or iTunes, check backup list and timestamp
This step ensures your data is truly backed up and retrievable.
Step 5: Update iOS
Now that your data is safe, it’s time to update.
Method 1: Over-the-Air (OTA) Update
- Connect to Wi-Fi
- Plug into power
- Go to Settings > General > Software Update
- Tap Download and Install
- Wait for the process to complete
Your device will restart during the update.
Method 2: Update via Computer
Some users prefer updating via computer:
On Mac (Finder)
- Connect device with cable
- Open Finder
- Select your device
- Click Check for Update
- Click Download and Install
On Windows (iTunes)
- Open iTunes
- Connect device
- Click Device icon
- Click Summary > Check for Update
- Click Download and Update
Updating via computer can fix problems that the OTA method cannot.
Step 6: After the Update
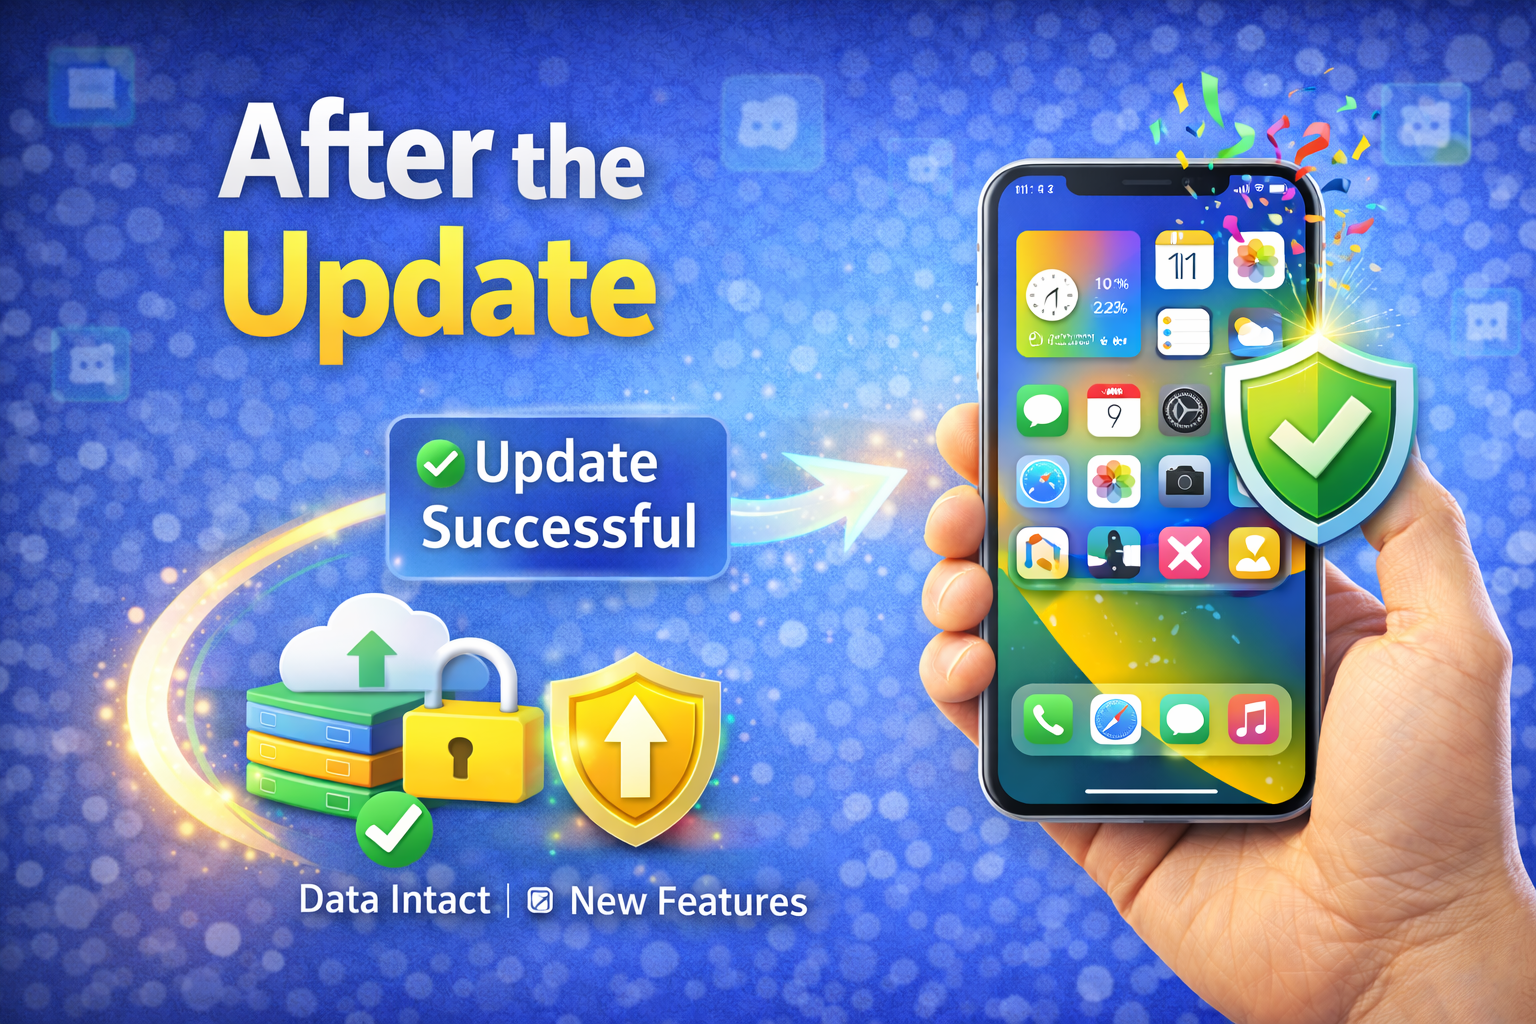
After the update finishes:
1. Verify Everything Works
- Photos
- Messages
- Settings
- Apps
If something looks missing, don’t panic—it may still be in your backup.
What to Do If Something Goes Wrong
Even with precautions, rare issues can happen. Here’s how to recover:
Scenario 1: Update Fails or Gets Stuck
Try:
- Force restart your device
- iPhone with Face ID: Press Volume Up → Volume Down → Hold Side button
- Older devices: Hold Home + Power button
- Connect to computer and update via Finder/iTunes
Scenario 2: Lost Data After Update
If you notice missing data:
Restore from Backup
- Erase your device: Settings > General > Transfer or Reset iPhone > Erase All Content
- Restart and select Restore from iCloud Backup or Restore from Computer Backup
- Choose the latest backup
Important: Restoring will wipe current data to replace it with your backup, so only do this if you are sure your backup has the missing content.
Scenario 3: Not Enough Space to Restore
If your backup is too large:
- Remove large files like videos from backup
- Use selective restore tools (third-party apps)
- Contact Apple Support if unsure
Tips to Prevent Data Loss in the Future

Here are extra best practices:
1. Enable Automatic Backups
Turn on iCloud Backup so your device backs up every day.
2. Use Both Backup Methods
Back up to iCloud and to a computer for maximum safety.
3. Update Apps First
Before updating iOS, update all apps in the App Store to avoid compatibility issues.
4. Keep Enough Free Space
Aim for at least 10–15% free storage, especially before major updates.
5. Charge Your Device
Low battery can interrupt updates—plug into power to avoid sudden shutdowns.
Frequently Asked Questions (FAQs)
Will updating iOS delete my photos?
No — updating iOS normally does not delete data. But if something interrupts the update, data can become corrupted, which is why backups are essential.
Is it better to update via Wi-Fi or computer?
Wi-Fi is convenient, but updating via computer can be more reliable—especially if your device is older or has low storage.
Can I update iOS without Wi-Fi?
Some updates might download over cellular data, but large updates typically require Wi-Fi.
How long does updating take?
It depends on file size and device speed. Minor updates take ~15–30 minutes; major ones can take up to an hour.
Should I update immediately when a new iOS comes out?
Many people wait a few days to let early bugs be fixed. But security updates should be installed ASAP.
Conclusion
Updating iOS doesn’t have to be scary. By backing up your device, freeing up storage, and following safe update steps, you can enjoy the latest features and security without losing precious data.
Remember:
✅ Always back up before updating
✅ Use both iCloud and computer backups when possible
✅ Check storage and power before beginning
✅ Restore only if necessary
With these steps, you’ll update your iPhone or iPad like a pro—safe, smooth, and stress-free.